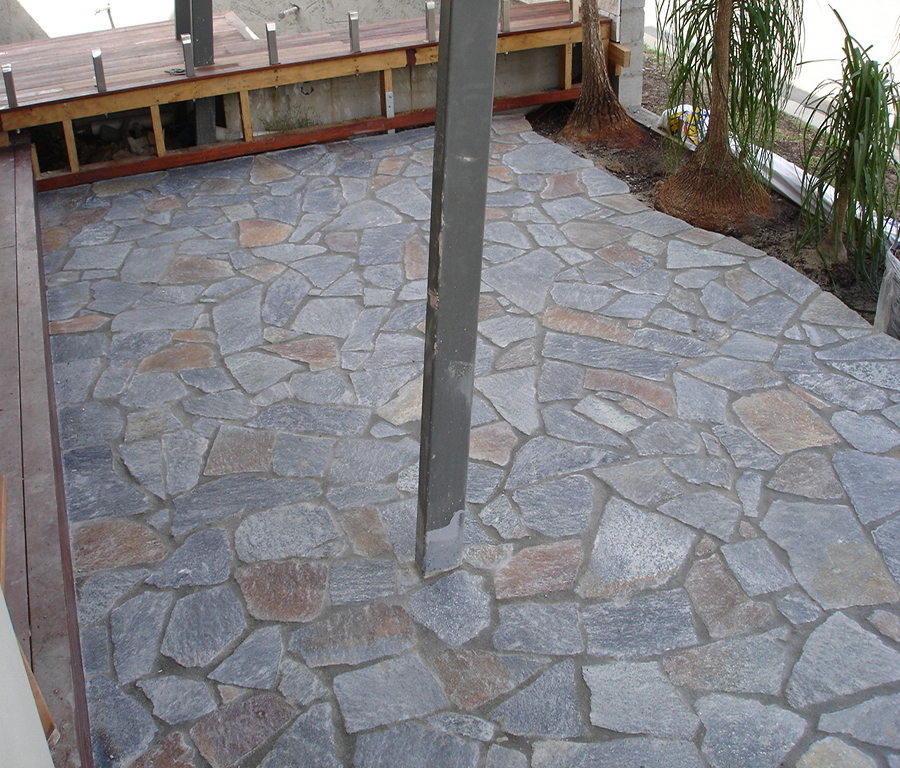
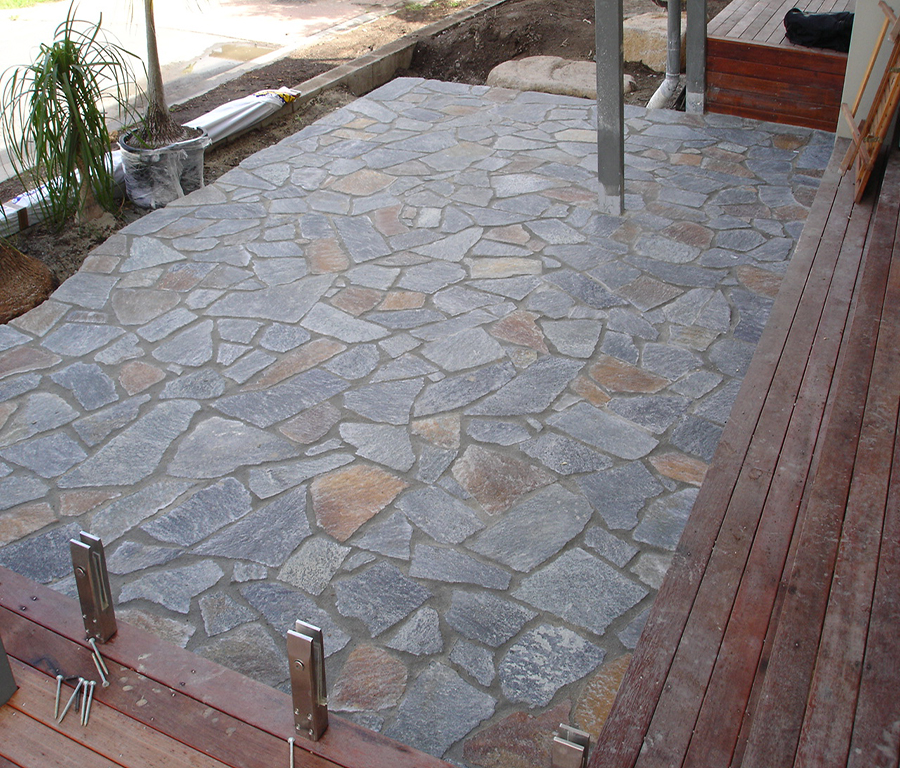
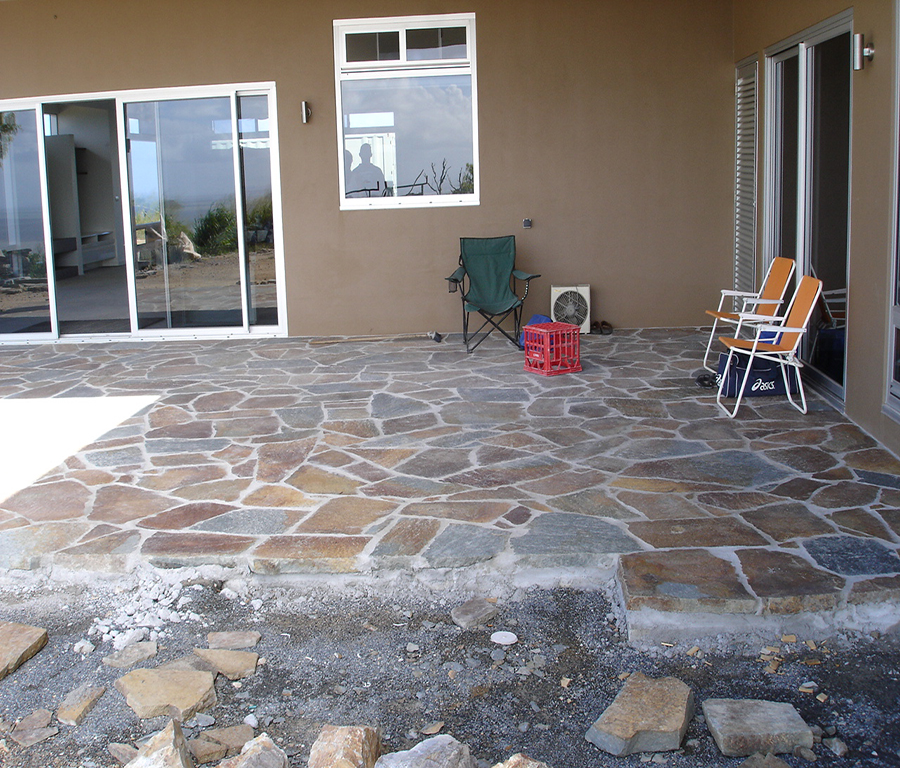
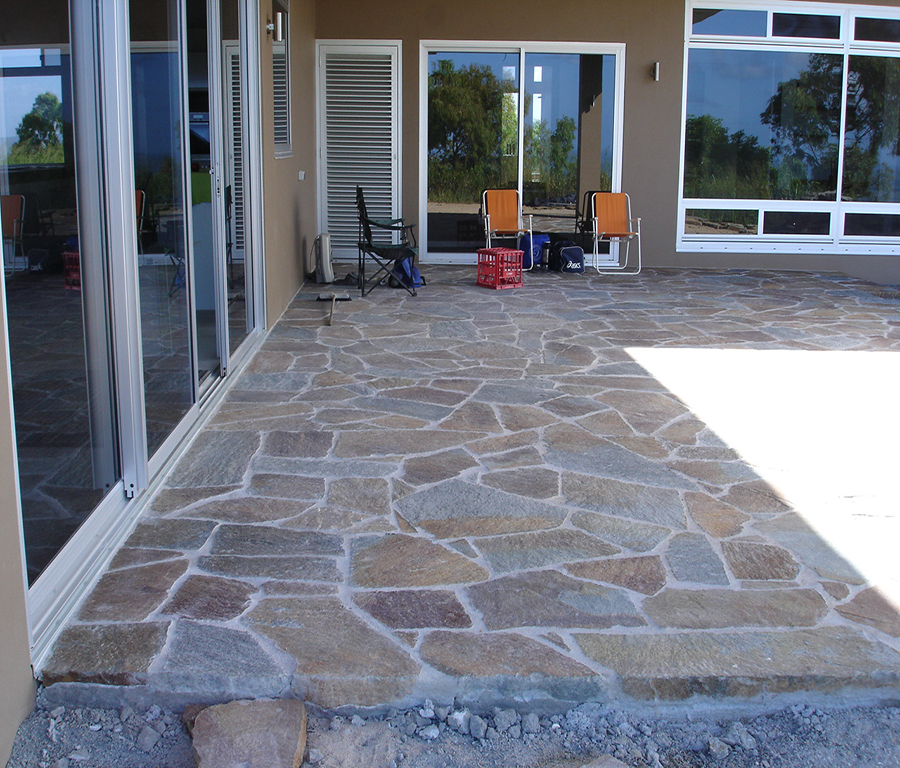
PORPHYRY STONE MAINTENANCE
Ease of maintenance is a feature of Australian Porphyry Stone. The following routine is recommended to clean and enhance the appearance of Australian Porphyry Stone surfaces.
Over time a film of grime may build up on the stone surface. The extent of such build up depends on the location, type of traffic and pollution the stone is exposed to.
Weekly
To remove dirt from both the natural split surface and the grout channels, simply hose down using a garden hose applying moderate water pressure.
Quarterly
Water the surface with a mixture of acid detergent (e.g. TR50 or the equivalent) and water. Dilute 1 part detergent : 20 parts water
Note: Formula TR50 is acid and should not be used where the use of acidic cleaners is expressly forbidden.
Apply with a watering can and work with a stiff brush, broom or scrubbing machine. Leave to stand for 3 minutes then was away with clean cold water.
Annually or as required
Apply an acid detergent (TR50)diluted 10:1 leave for 10 minutes then hose off using a pressure spray of 1500 psi applied in a 150mm fan jet. Direct the spray onto the stone at an angle of approximately 45 degrees. Do not apply constant pressure to the grouting.
Australian Porphyry Stone accepts no liability for any or all losses resulting from the maintenance of Porphyry stone. Expert advice should be sought from the manufacture of the cleaning products used.
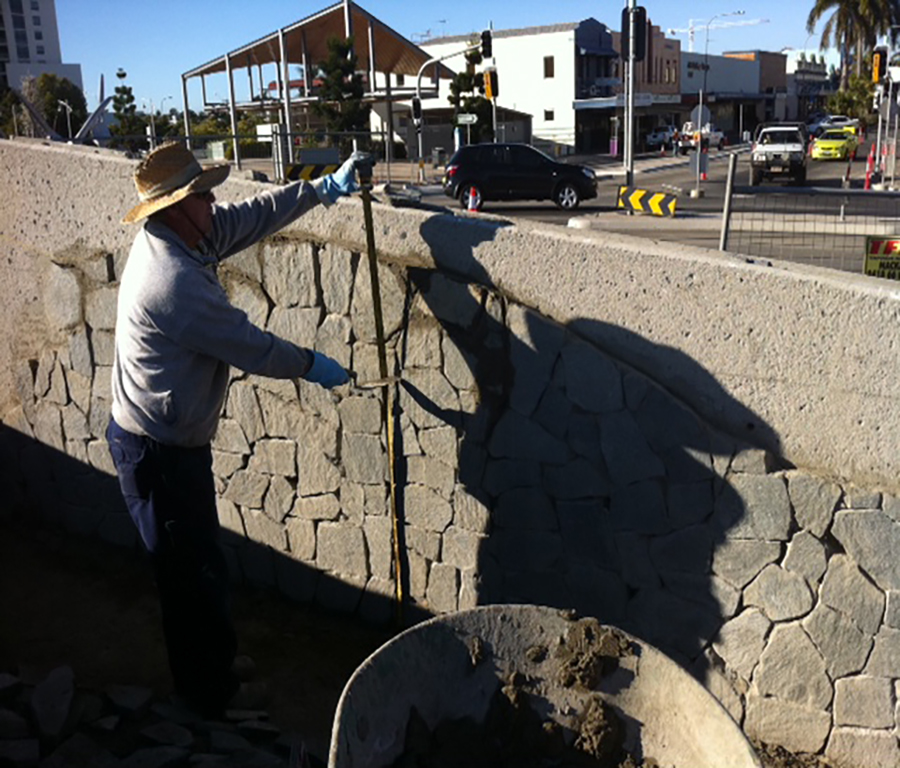
The ARDEX System for the installation of Natural Porphyry Stone cladding to walls.
ARDEX Australia Pty Ltd
30 Kenworth Place, Brendale Qld 4500 Australia
Telephone +6 1 7 3881 3188 Facsimile +61 7 3881 3188 www.ardex.com
CLADDING
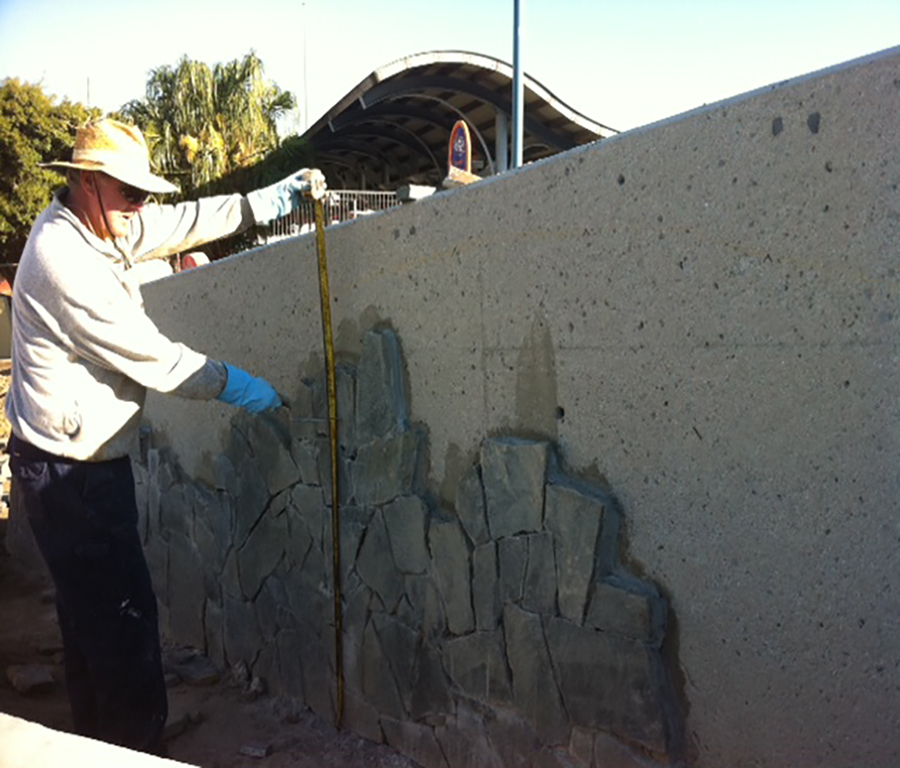
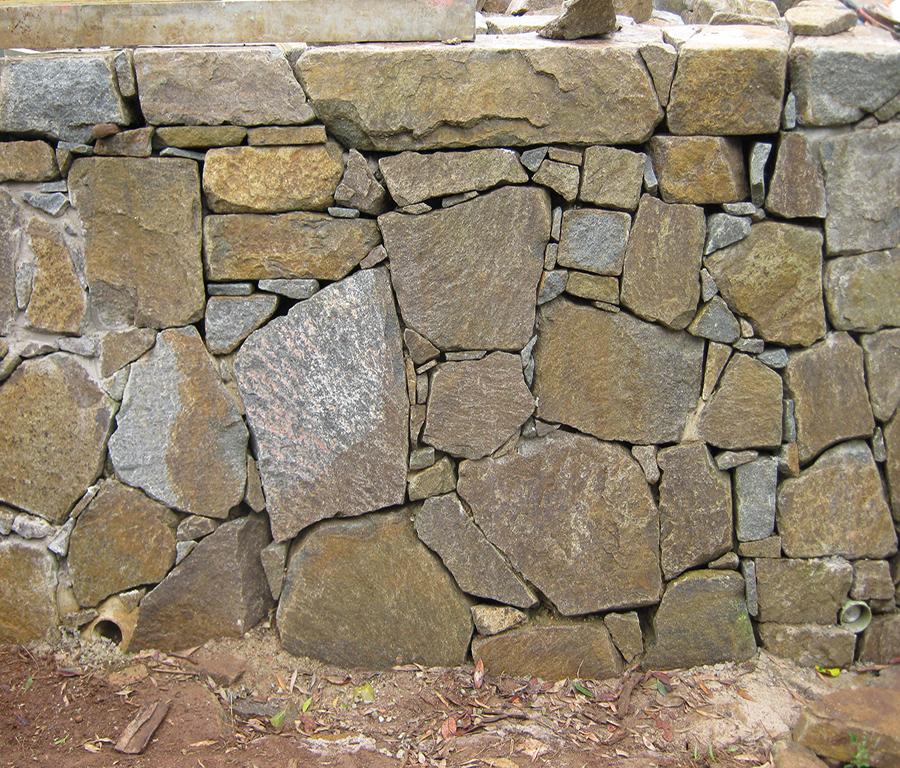
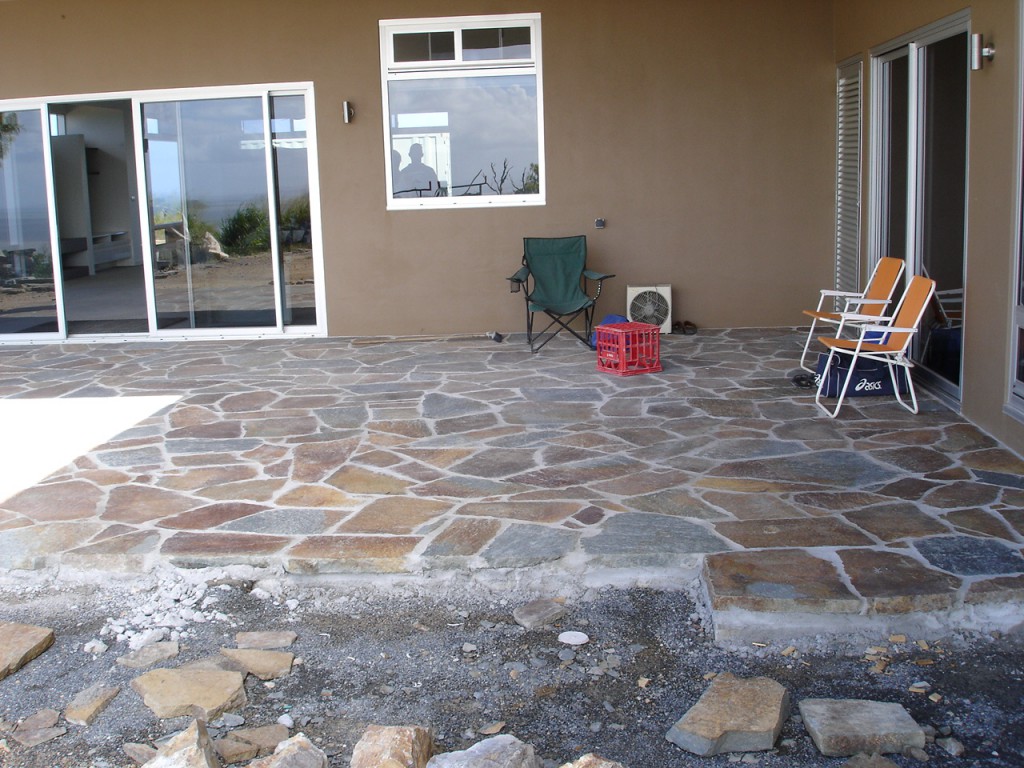
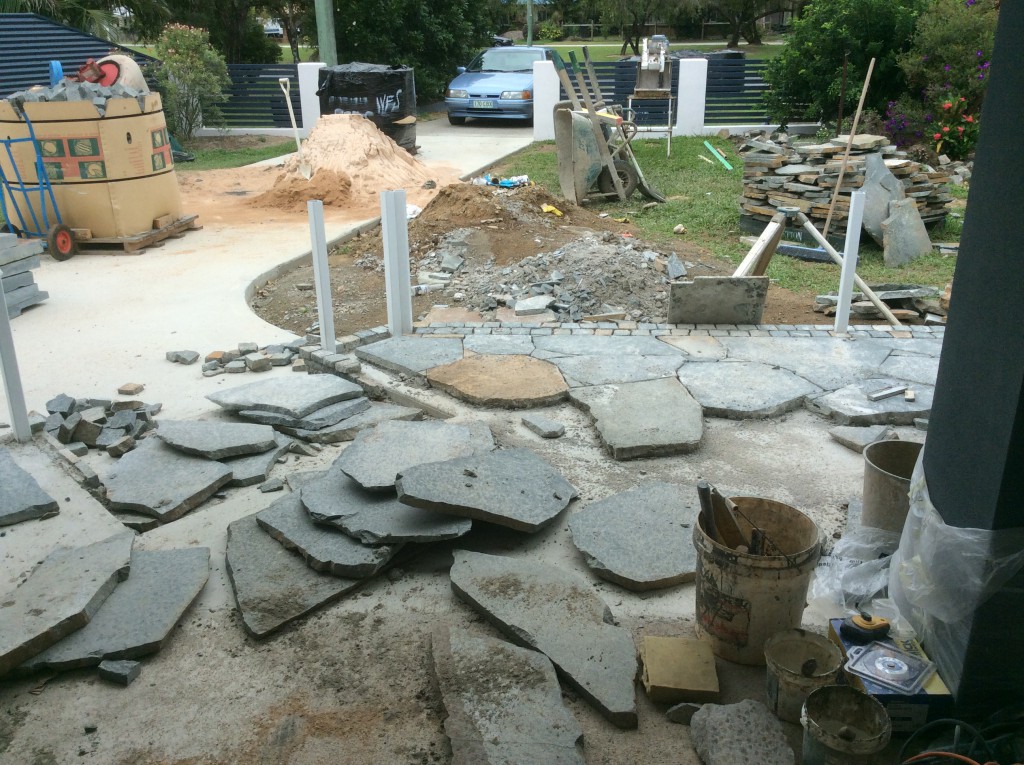
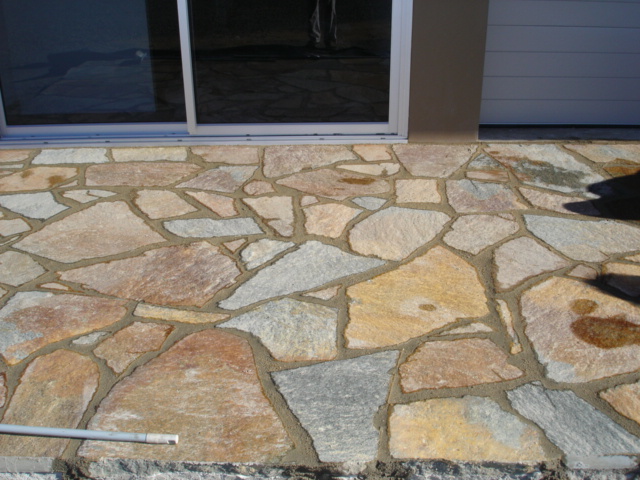
The cladding shall be natural Porphyry stone in the random sizes indicated:
20-40mm thick with face sizes from 200-400mm.
Other sizes may be offered that may be fixed using the same methods described. We note that the guillotine cut stone may vary in thickness hence the nominated wet bed fixing method has been designed to accommodate these thickness variations.
Porphyry stone is a dense natural stone with a low rate of water absorption. This means that the standard grade cement based fixatives are unable to penetrate the body of the stone to form strong mechanical bonds. The use of polymer additives to the cement based fixatives improves bond strength and imparts a small degree of flexibility to the system.
PROCEDURE
Wet Bedding Method
The wet bedding method may be used to fix the natural Porphyry stone. The stone must be clean and dry, free of quarry dust and the like.
Reinforced concrete and core-filled concrete block wall substrates must be dry and free of all contaminants such as excessive laitance, debris from other trades, waxy or oily residues, concrete curing compounds and paint over-spray. Contaminants are best removed by mechanical methods such as grinding, abrasive blasting with non-metallic blast medium or high pressure water blasting to achieve an open pored surface with a fine profile texture for maximum adhesion.
- To the prepared wall substrates, apply a slurry coat of 2 parts (by vol) Ardex Abacrete liquid mixed with 3 parts cement. Brush this slurry thoroughly into the prepared substrate immediately prior to placing the bedding mortar.
- To the wet slurry apply a mortar consisting of 3 to 4 parts (by vol) sand to 1 part cement and mix with a solution of 1 part Abacrete liquid in 3 parts water. This bedding mortar may be applied from 15mm to over 40mm thick and should be plastic enough to allow the stone to be pushed into the mix so the mortar rises around each stone.
- Apply the slurry coat to the exposed mortar surface or directly to the sides and back of each stone piece. Place each stone into the wet mortar and work into the mix to fully bed the stone with some mortar rising up each side. There should be a minimum of 15mm mortar behind the thickest stone. Additional mortar is then applied over each layer of stones to ensure full bedding and to minimise the need for grouting.
- This method is a wet-on-wet installation technique and any dry sections of mortar are coated with the slurry before the next mortar layer is added.
- The stone pieces are typically positioned 10 to 15mm apart although this may vary due to the shape of each piece.
- Include additional mechanical fixings in the cladding as the work proceeds up the height of the wall. These may be concealed fixings and/or metal angles fixed at regular intervals to divide the cladding into smaller panels. The placement of metal angles at each story height is where a movement joint is required.
- We refer to Ardex Technical Bulletins TB001 and TB148 for more information on the need for these additional mechanical fixings.
- Allow the mortar to dry for 24 hours prior to grouting with Ardex WJ50 cement based grout. Alternatively the bedding mortar may be used to fill any voids between the stones.
- Movement joints must be included in the cladding over all existing joints in the substrates, and at each storey rise in the height of the wall. These (minimum width 6mm) joints should be formed as the cladding is applied. Ensure these joints are kept free of mortar by using suitable backing rods that go full depth to the cladding back to the substrate. A flexible sealant such as Ardex SE silicone sealant is used to fill the exposed edge of these joints.
- Note; the stone must not start by sitting on any concrete footings or the like as relative movement between the wall and the footings may lead to debonding of the cladding. This joint becomes a movement joint in the completed work.
- Movement joints shall also be included around all interruptions in the wall cladding, and at all internal corners.
The stone cladding does not form a waterproof barrier and the completed work may be sealed if required after the bedding mortar and grout have been allowed to fully dry. This may be a minimum of 14 days after installation, to several weeks dependent on the climatic conditions.
We trust this brief recommendation is of assistance and welcome any further inquiries you may have regarding the Ardex products nominated above.
Graeme Robb
Ardex Australia Pty Ltd.
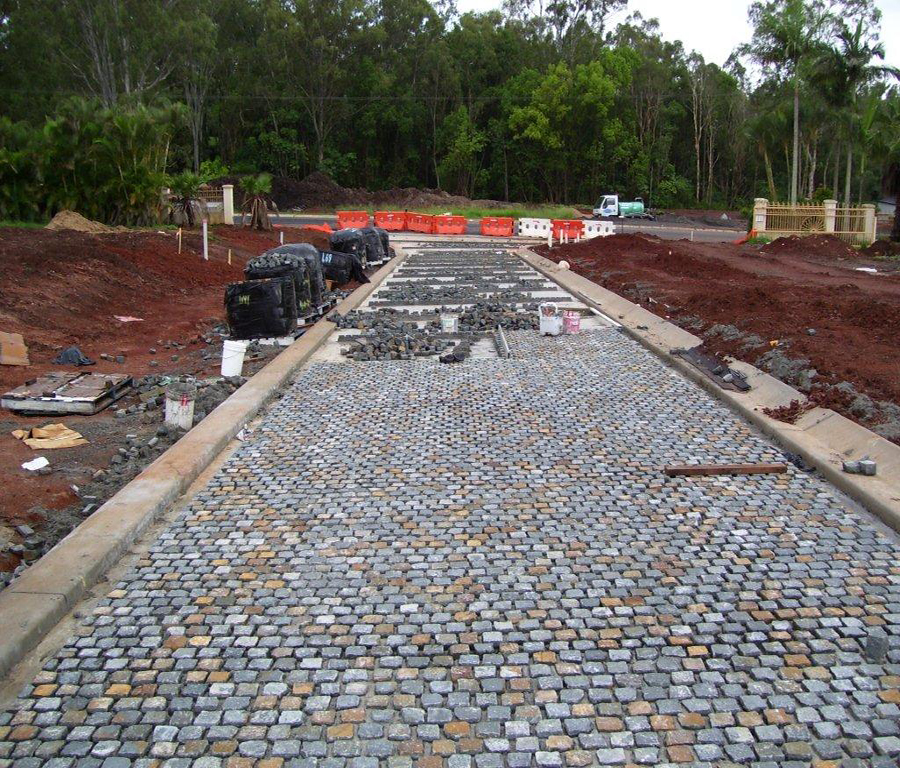
The ARDEX System for the installation of Natural Porphyry Stone setts, pavers and random stone to trafficable areas as follows:
ARDEX Australia Pty Ltd
30 Kenworth Place, Brendale Qld 4500 Australia
Telephone +6 1 7 3881 3188 Facsimile +61 7 3881 3188 www.ardex.com
PAVERS
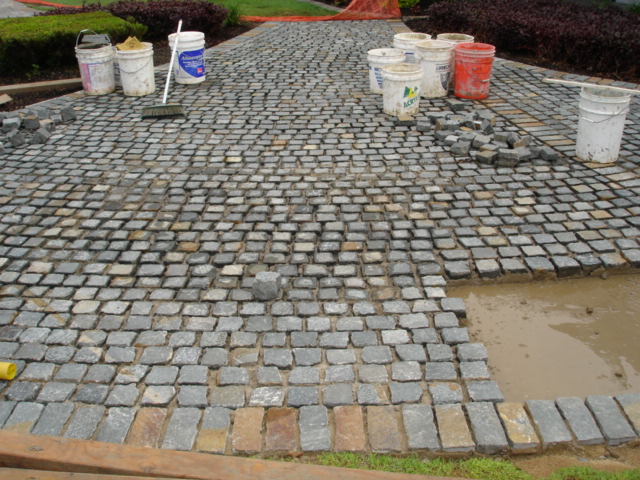
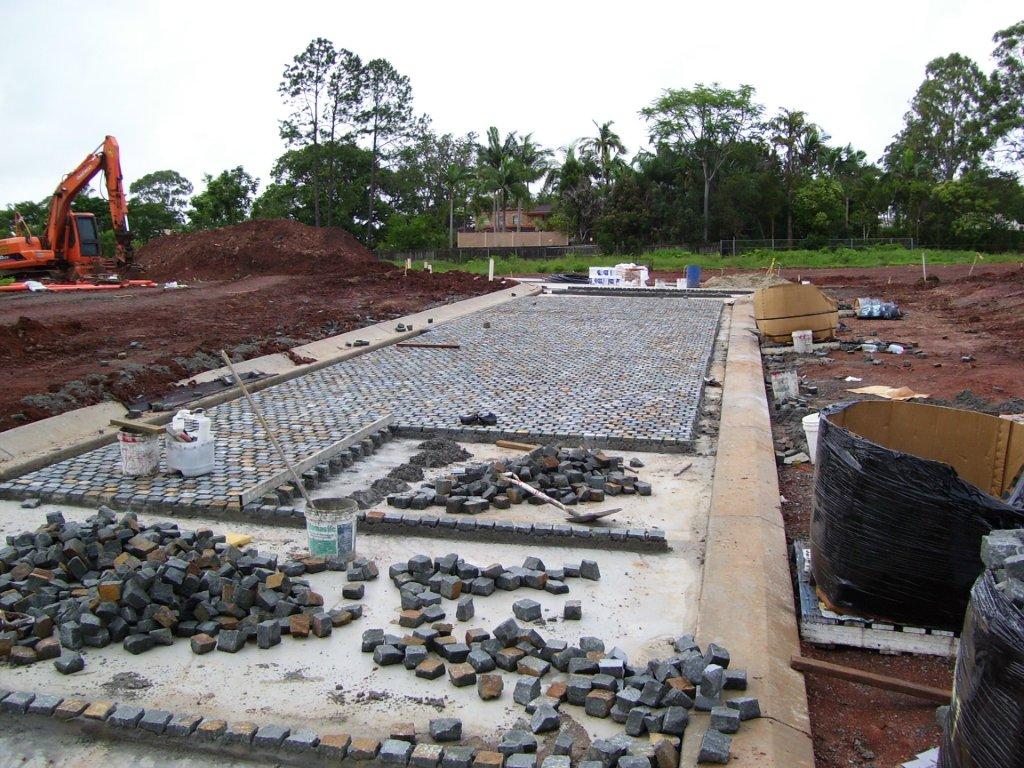
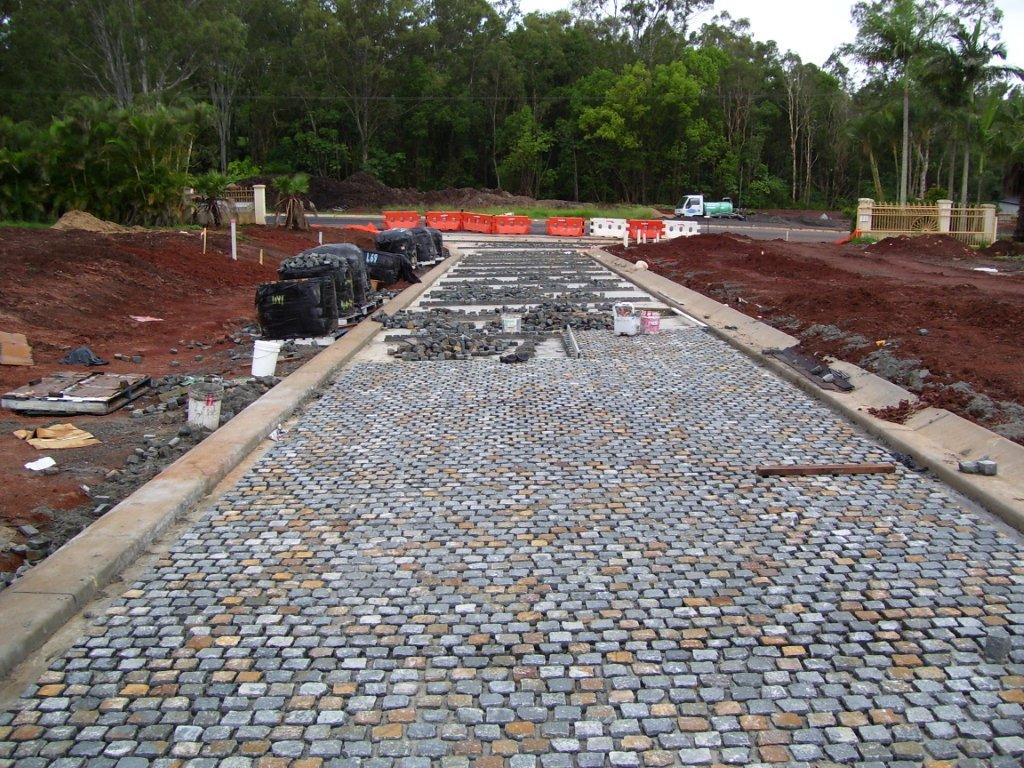
The pavers are Porphyry stone setts in the nominal size indicated.
90 x 90mm guillotine cut, in thicknesses 40-70mm.
Other sizes may be offered and the fixing technique remains the same. We note that the guillotine cut stone may vary in thickness; hence the nominated wet bed fixing method has been designed to accommodate these thickness variations.
Porphyry is a natural stone with a low rate of water absorption. This means that standard grade, cement based fixatives are unable to penetrate the body of the stone and form strong mechanical bonds. The use of polymer additives to the cement based fixatives improves the bond strengths achieved and has been used for many years for this type of application. The stones are embedded in the mortar so that they are physically locked in place as the mortar fills the irregularities in the sides of each piece. Wire reinforcement is not used in this wet bedding system and the substrate must be reinforced concrete to provide the structurally sound base to which the mortar is bonded.
PROCEDURE
Wet Bedding Method.
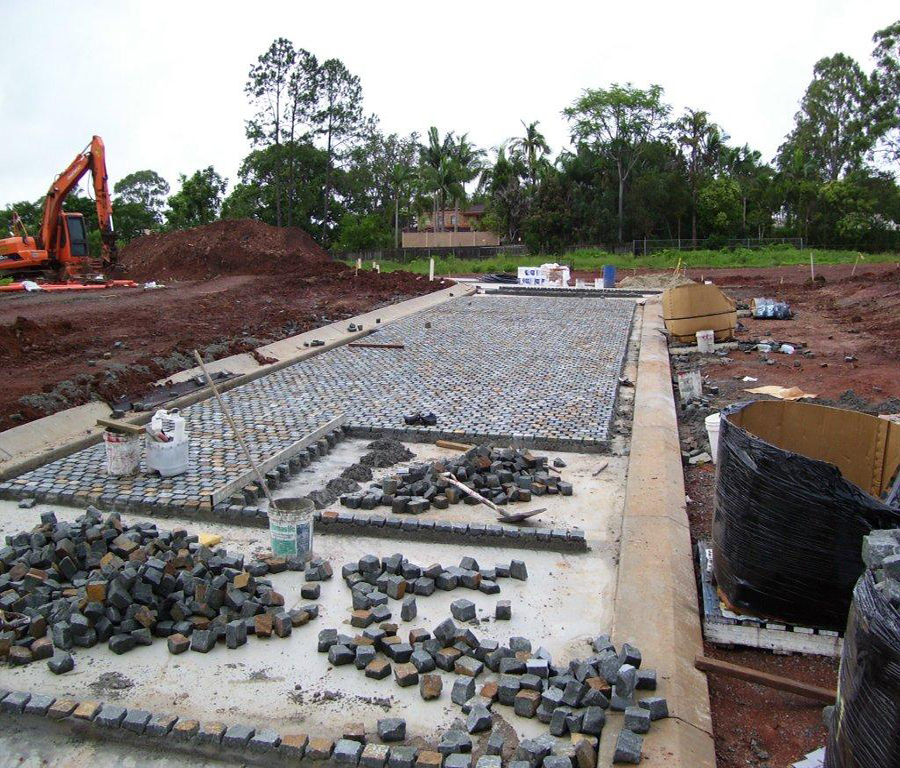
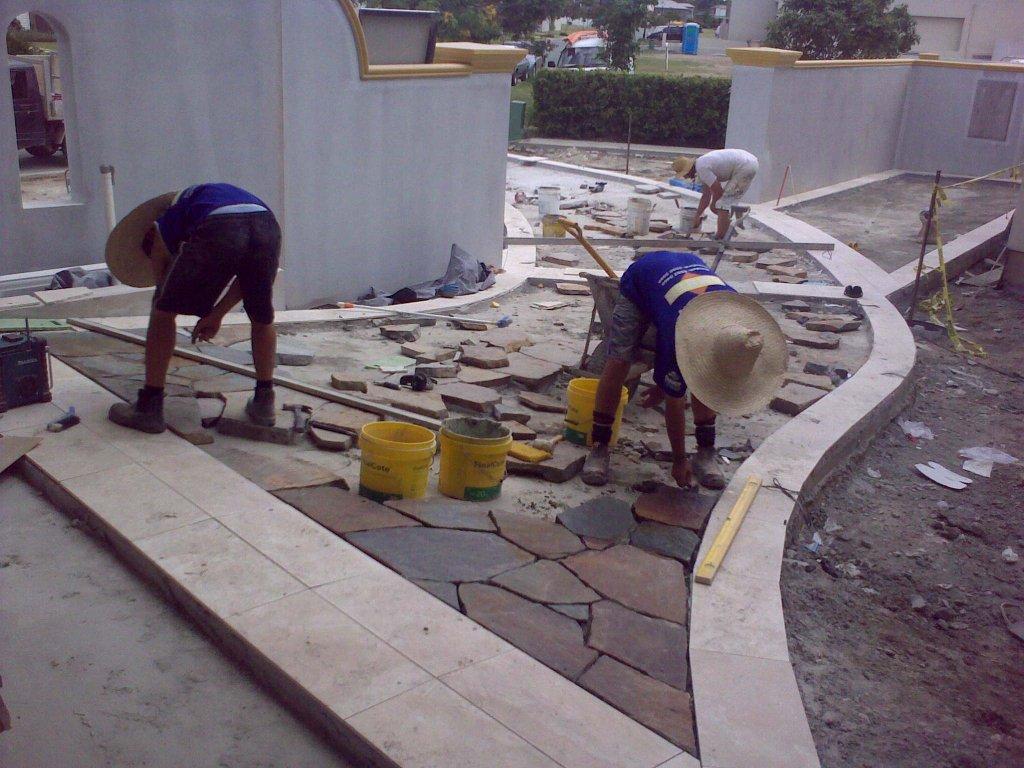
The wet bed method is be used to fix all the porphyry stone setts. The stone must be clean and dry. Reinforced concrete substrates must be dry and free from all contaminants such as excessive laitance, debris from other trades, and soiling from dirt tracked in from adjacent bare ground. The concrete should also have completed the recommended (AS3958-2007) curing and drying period of 4-6 weeks prior to installation of the pavers. Contaminants are best removed by mechanical methods such as grinding, shot blasting and high pressure water blasting.
Note: The stone must be embedded in the mortar while the fresh mortar is still in a wet and plastic state. This normally means only 2 or 3 rows are installed at a time with fresh mortar being added to the working edge as the installation proceeds.
Bedding Mortar
To the prepared concrete, apply a slurry coat of 3 parts (By vol.) cement to 2 parts ARDEX ABACRETE liquid, broom thoroughly into the prepared substrate surface.
To the wet slurry coat, apply a mortar consisting of 3 or 4 parts sand to 1 part cement and mix with a solution of 1 part ARDEX ABACRETE liquid in 3 parts water. This mortar may be applied from 15mm to over 40mm thick and should be plastic enough to allow the pavers to be pushed into the mix so mortar rises up the sides of the stone pieces.
Laying the porphyry stone setts
Apply the slurry coat (3 parts cement to 2 parts ARDEX ABACRETE liquid) to the exposed fresh mortar surface and/or directly to the back of the stone pieces. Place the pavers in position onto the fresh wet mortar and tap down so the mortar rises at least halfway up the sides of each stone. The mortar may be allowed to rise up the sides of the tile to finish level with the top surface of each stone piece although it is common to allow 10-12mm depth for a cement based grout to be applied later.
The stone pieces should be positioned at lease 10-12mm between adjacent pieces and have at least 15mm of mortar under the bottom of the thickest stone piece.
Allow the mortar to dry for 24 hours before allowing light foot traffic to access the area. Vehicular traffic may be allowed after a minimum of 28 days curing and drying.
Movement joints are to be included in the porphyry paving finish over all existing joints in the substrate and as recommended by the stone supplier.
Where the porphyry paving is only a band or strip across a road way with concrete either side, a movement joint must be installed between the pavers and the concrete.
Movement Joints
Movement joints must be included in the paving layout. We recommend the pre-formed metal edged joint strips such as manufactured by Latham, as these may be anchored onto the mortar topping mix during the stone installation. These metal edged joints are placed in large sections of paving in high traffic areas. Joints adjacent to walls and the like (and not subjected to high trafice loads) may be filled with a proprietary flexible sealant suitable for the purpose. A backing rod may be required under the flexible sealant.
Movement joints should be placed at all perimeters adjacent to columns, walls, fixed penetrations and other interruptions in the stone finish.
Movement joints must be placed over all existing joints in the substrate.
Movement joints are recommended at a maximum of 5 metre intervals in both directions of a grid pattern throughout large areas of paving. This interval may be reduced to provide symmetry in the completed work.
Movement joints should be a minimum of 6mm wide and may be formed using backer rod as the bedding mortar is placed. The excess backer rod is then cut away after the mortar has set around the setts and prior to grouting.
Grout
We recommend the Ardex WJ50, a pigmented cement based grout to be used to fill the joints between the adhesive fixed stone pavers. This is a sanded grout suitable for both internal and external floor areas where the joints are from 5 to 50mm wide.
We note that the joints between the stone pieces may be wider and deeper than normal; thus this sanded grout may be used without excessive shrinkage. Ardex WJ50 grout may be mixed with Ardex Grout Booster. This additive improves grout strength, resistance to staining and adhesion to the stone. Allow the grout to set for 24 hours minimum before allowing light foot traffic over the completed work.
We trust the above recommendations are of assistance and welcome any further queries you may have regarding the products nominated above.
Graeme ROBB
Ardex Technical Services

